Sunday, April 26, 2015

Memento

ARTIST STATEMENT:

Memento was a project that made your brain think in a different way. As an artist we are made to think and create one way while this project made us think inside the box and create something out of a memory. When assigned this I believed it was going to be pretty easy considering we could only use three materials. Once it came down to getting started is when most of us had an artiest block. Memories have so many aspects to them how could we narrow down all our ideas into three materials. This project made us step outside our artist brains and think differently. For my memory I choose when my little sister had brain cancer and my family lived in the hospital to take care of her. For my memento I decided to make a cocoon like structure sowed together with an opening in the middle with yellow paint on the inside. The cocoon is to resemble the butterfly starting the next stage in its life, like my sister did by beating cancer. The stitching it to resemble her stitched and the yellow paint to resemble her favorite color at the time. Overall I enjoyed this project due to the drive to think differently.

IN PROCESS PICTURES:


PROFESSIONAL PHOTOS:

Sunday, April 12, 2015

5 Statements on Memento- Susan Stewart

1.     The body is the primary mode of perceiving scale.
My interpretation of this sentence is that the way we measure and scale things, is by comparing it to our body. For example if we are trying to see how tall something is you always stand next to it and say something along the lines of “well I’m 5 foot 5 and this door is twice my size so that would make the door about 10 foot 10”. Therefor the body is the primary mode of perceiving scale.
2.     Capacity of objects to serve as traces of authentic experience.
To have a capacity of objects means to have the maximum amount of those objects. So when it states that, that serves as traces and experience it’s saying that the more objects and souvenirs you have means you have that many more one of a kind experiences that no one can duplicate.
3.     The souvenir reduces the public, the monumental, and the three dimensional into the miniature, that which can be enveloped by the body.
This statement says that a souvenir is a smaller object of some sort of 3D monument that can be made personal a small enough to be held. For example if I were to go to the Eiffel Tower I could get a souvenir that would be a handheld replica of the monument minus the people.
4.     Nostalgia cannot be sustained without loss.
Nostalgia is a want for something that has happened in the past. So when is states that nostalgia cant happen without loss it means that you cant long for something from the past if its currently in your present.
5.     To have a souvenir of the exotic is to posses both a specimen and trophy.
This statement say that a souvenir is cool but to have one that hardly no one else has makes it that much better. As we all know having something that is one of a kind is hard to come by making it a trophy. Only you have this exotic souvenir and it’s a specimen of your memory and something you can treasure.

Monday, March 30, 2015

Soap Carving

ARTIST STATEMENT:
When assigned this project I was on a time crunch and thought It was possible to carve two pigs out of soap along with having lots of detail! I thought this was possible because in the fourth grade I carved a “boat” out of soap, but the boat was really just soap hollowed out. This project I have to say was the most time consuming, patience testing project yet. There came times where I wanted to throw my soap across the room and forfeit the on going struggle of soap carving. After my project ended I had blisters on my fingers from the carving tools and I had to need to be dirty from that point on because of my want to never see soap again!! 


IN PROCESS PICTURES:


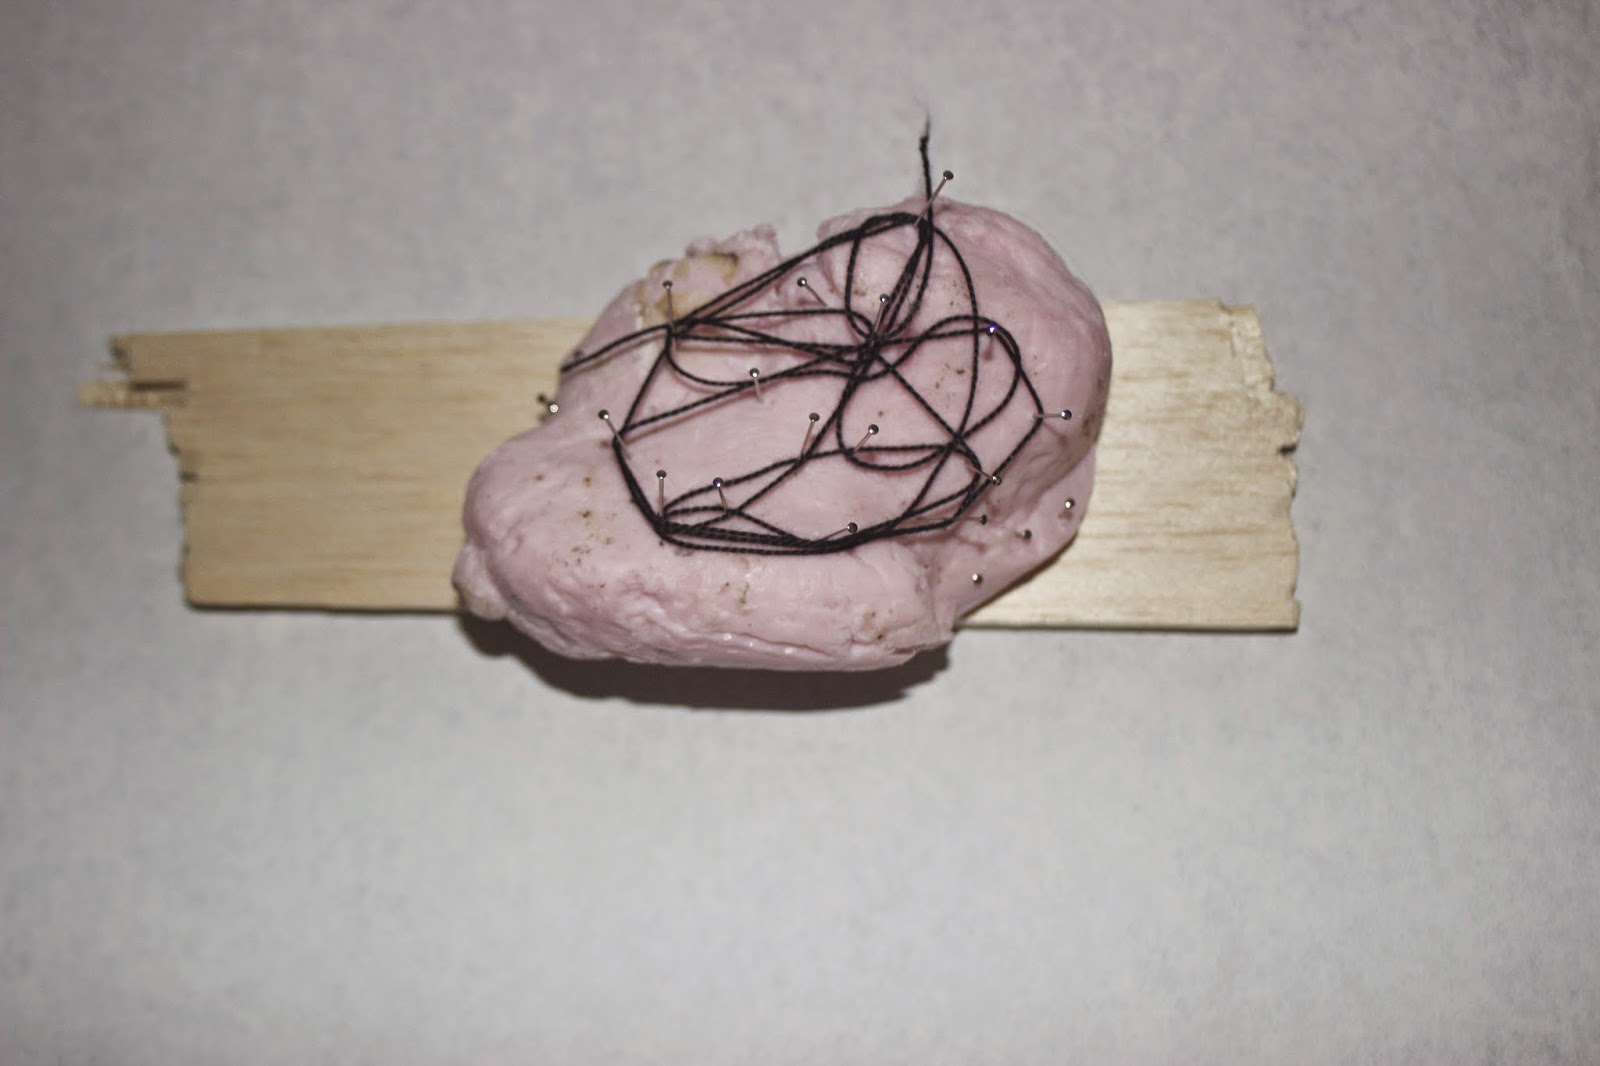
SOAP CARVING DISTRUCTION:

Step One: Washed my hand with the soap


Step Two: Dropped it off the second floor


Step Three: Threw it


Step Four: Stepped on it


Step Five: Light it on Fire


Step Six: Put it in the Microwave


Step Seven: Smushed it


Step Eight: Twisted it


Step Nine and Ten: Pinned it, and tied it up.

PROFESSIONAL PHOTOS:

*final pig picture is excused*


Wednesday, March 25, 2015

Paper City

ARTIST STATEMENT:

I’m not the most talented artiest when it comes to 3D art, but when we were assigned this project I was ready to be creative. For some odd reason I knew how to fold paper easily into the shape of a box or a house. I’m not sure exactly what class it was in high school that taught me how to fold paper into boxes but I want to say that it was my Trigonometry class. Even though I knew how to make houses and boxes out of paper I wanted to challenge myself a little while doing these two pieces. Part of the assignment was to have something moving on both of our pieces.

For the first piece I made a circus tent. I made a circus tent because that would be something I have never done before and I would have to measure out every detail in order to get it perfect. For the roof of the tent I wanted it to not be attacked because I wanted it to be able to move around and be able to come off and on. The main moving part of this piece however was the flag in the top of the tent. The flag can spin as well as move up and down like flags do in real life.

For the second piece, I made a hanging top-heavy house. For this piece I wanted to have the top bigger than the bottom, I also wanted to experience with cuts and designs in the roof since these were both things I have never worked with before. My moving part of this piece is the house being able to spin while hanging on the wire. Overall I enjoyed this project because it was something I already knew how to do so I got to challenge and push myself to not take the easy way out.


IN PROCESS PICTURES:


First Piece:
Second Piece:


PROFESSIONAL PHOTOS:


Wednesday, March 11, 2015

Architecture Relief


ARTIST STATEMENT:

When assigned this project I was nervous because I have no idea about different architectural time periods. After research I choose modern and post modern. I displayed modern by making my main buildings and structures out of geometrical shapes. How I incorporated post modern into my piece was by the string design on the front of my sculpture and by the roofing/deck made out of balsa wood at the top of my piece. Overall I enjoyed this piece, because I actually spread out my workflow instead of waiting until the last minute.

RESEARCH IMAGES:
postmodern.


modern.


IN PROCESS PICTURES:

PROFESSIONAL PHOTOS:


Monday, February 23, 2015

Elements and Principles

  1. Organic Line http://phillyink.deviantart.com/art/Bio-organic-Line-work-6454757
  2. Rectilinear Line http://mathworld.wolfram.com/RectilinearCrossingNumber.html
  3. Organic Shape https://wikis.engrade.com/eandpshape/organic 
  4. Geometric Shape http://unrestrictedstock.com/projects/3d-geometric-shapes-free-stock-vector-set/
  5. Scale (show a difference in size) http://char.txa.cornell.edu/language/principl/principl.htm
  6. Symmetry http://www.education.vic.gov.au/school/teachers/teachingresources/discipline/maths/continuum/pages/linesymm35.aspx 
  7. Asymmetry http://johnbarsbyphotography.pbworks.com/w/page/9066613/Symmetry%20and%20Asymmetry 
  8. Repitition http://jazzadvice.com/repetition-the-missing-link-to-your-success/ 
  9. Actual Texture http://facweb.cs.depaul.edu/sgrais/texture.htm
  10. Simulated Texture https://www.flickr.com/photos/62207362@N05/5704962780/

Monday, February 9, 2015

Masking Tape Shoe

ARTIST STATEMENT:

When assigned this project I was originally nervous because I had no idea it was possible to build an actual pair of shoes out of tape that I sometimes use for painting. Once I did my paper draft I realized how difficult it was to measure out the proportions of the shoe perfectly. Once I started doing the actual tape shoe itself getting the base was difficult and actually restarted a few times. While doing the base of the shoe I stuffed the inside with scrap paper. Once I got the base I moved to the sides which was the easiest part. The two parts I had the most trouble with was attaching the two sides in the back along with adding the tongue of the shoe, no matter how many times I tried it was hard to get the proportions correct. Over all I liked the project I just wish we had smaller assignments with tape to help us nail it.

IN PROCESS PICTURES:


PROFESSIONAL PHOTOS: